WordPressでカスタムウィジェットを追加してショートコード表示する方法
この記事では、WordPressでカスタムウィジェットを追加し、ショートコードで表示する方法を初心者向けに解説します。サイドバー以外の場所にも自由に内容を表示したい時に便利です。基本的な考え方から実装手順まで、できるだけわかりやすく紹介します。
1 実装のポイント
- functions.phpにウィジェットエリアを登録する
- ショートコードを作成して任意の場所に表示
2 functions.php にコードを追加
//-------------------------------------------
// 新しいウィジェットエリアを登録
//-------------------------------------------
function custom_widget_area_init() {
    register_sidebar(array(
        'name'          => 'カスタムウィジェット',
        'id'            => 'custom_widget',
        'before_widget' => '<div class="custom-widget-area">',
        'after_widget'  => '</div>',
        'before_title'  => '<h3 class="widget-title">',
        'after_title'   => '</h3>',
    ));
}
add_action('widgets_init', 'custom_widget_area_init');

// ショートコードでウィジェットを表示
function custom_widget_shortcode() {
    ob_start();
    if ( is_active_sidebar('custom_widget') ) {
        dynamic_sidebar('custom_widget');
    }
    return ob_get_clean();
}
add_shortcode('custom_widget', 'custom_widget_shortcode');
補足:
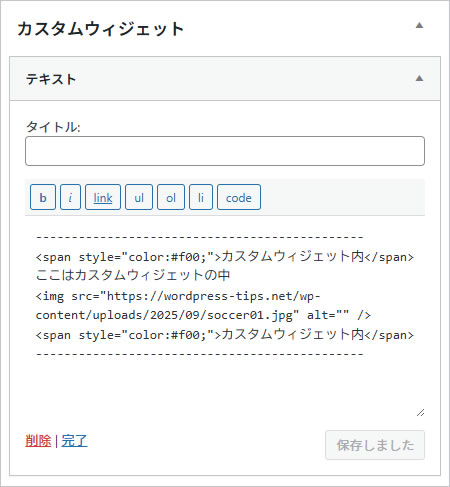
① 外観→ウィジェット→カスタムウィジェットに文字や画像、htmlを入力します。
② ショートコード [custom_widget]を記事や固定ページ、カスタムHTMLブロックに貼り付けて使用できます。
① 外観→ウィジェット→カスタムウィジェットに文字や画像、htmlを入力します。
② ショートコード [custom_widget]を記事や固定ページ、カスタムHTMLブロックに貼り付けて使用できます。
記事内で表示する場合:
[custom_widget]
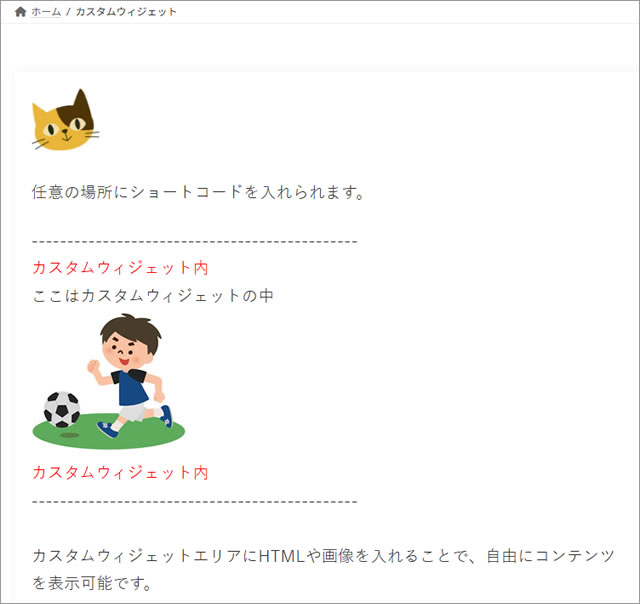
3 完成イメージ
3.1 ショートコードを埋め込んだ内容
4 代用プラグイン
- Widget Shortcode – ウィジェットをショートコード化できる
- Custom Sidebars – ウィジェットエリアをページ単位で切り替え可能
5 まとめ
この方法を使えば、ショートコード1つで自由にウィジェットを表示できます。